 en
en Italian
 German
 French
 Spanish
 Russian
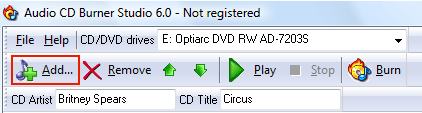
Using Drag&Drop you can burn an Audio CD with Audio CD Burner Studio in a single click. Here we discuss adding tracks using the “Add…” button.
Start Audio CD Burner Studio. On the toolbar, click “Add…”:
An “Open” dialog will pop up:
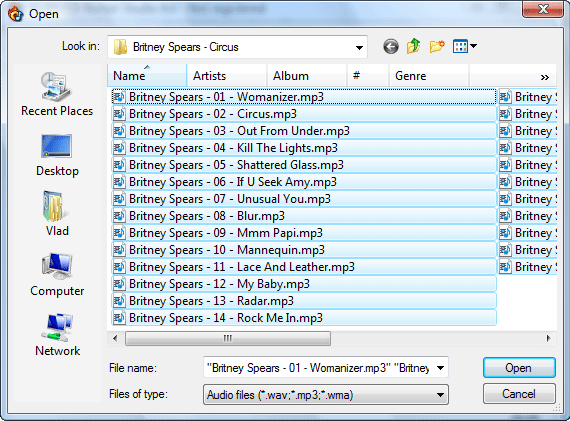
Browse to the folder where you keep your music, select files that should be burned. You can select all files in the folder by pressing “Ctrl” + “A” on your keyboard. You can toggle files as selected/unselected by pressing “Ctrl” and clicking a file.
After selecting files, click the “Open” button. The files will be added to the burning list.
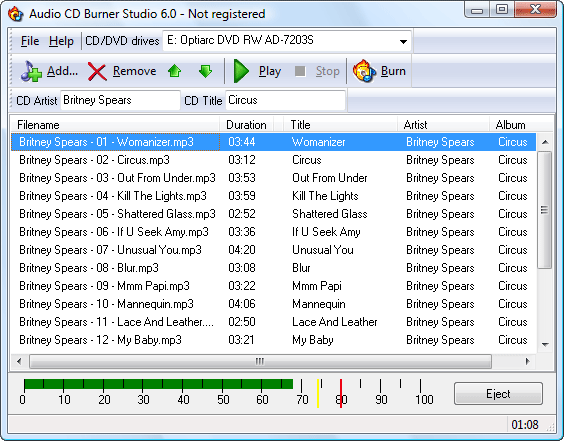
Below the list, you can see a time scale. A typical CD-R disc can contain up to 80 minutes of music (700 MB CDs). Please make sure that your compilation is below this margin.
If everything’s okay, insert a blank CD and click the “Burn” button on the toolbar:
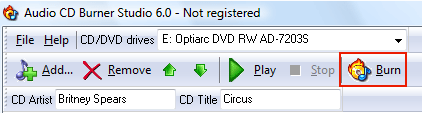
Audio CD Burner Studio starts processing your audio files and then burns your compilation. It takes a few minutes.
If your computer has several CD/DVD burner drives, select a drive to use from the “CD/DVD drives” list on the toolbar. Use the built-in player to recognize individual songs, change order of tracks, if necessary, edit CD-Text information, adjust write method, speed or other settings. Use hotkeys to improve your productivity.


